
Props, Tooltips and Animated Doors.

From now on I hope to set a routine of releasing short video updates on progress. I've pushed through the pathfinding and most of the movement AI programming. I'm pretty comfortable with how the agents are working out. I made some changes to the A star algorithm to make it faster and generate better routes.

It's now possible to add props to the game, they block movement and can be moused over for some feedback about what they are, but they can't contain anything yet. I think I should probably work on the inventory and item system next. Once a player can pick things up and equip them we can get started on prototyping combat. Stats will stay rigid at first, levels and skills will come later.

http://youtu.be/CPisLl67W6Q
Click the image for a link to the video blog.

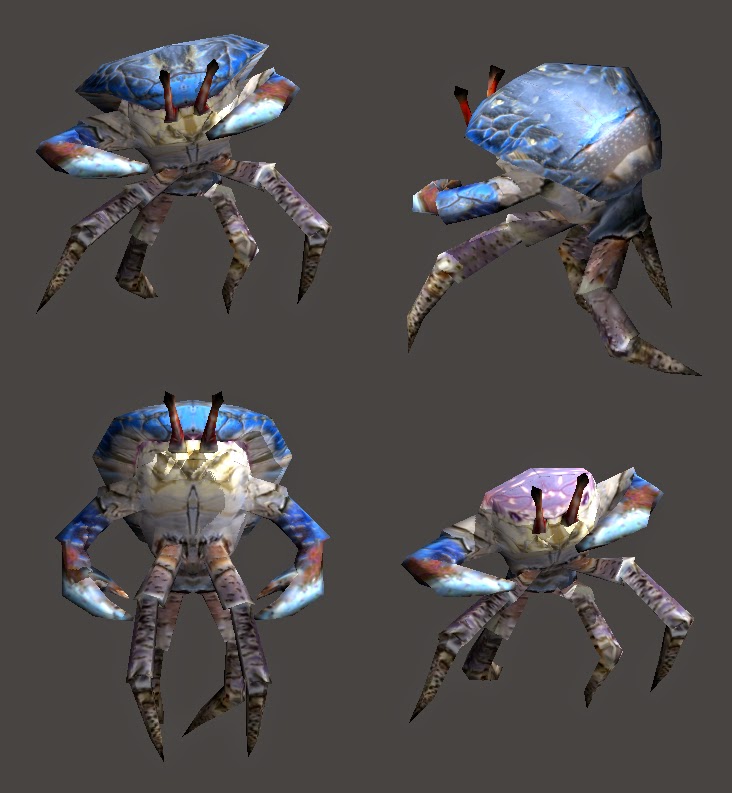
I also did some work on my 3d design work flow. I had been baking textures on to my characters and then touching them up in the GIMP, but I learned a bit about projection painting and after trying it I found it's a good fit for my current style.

Here's a monster I made with the new workflow:

http://youtu.be/jFsqzO2Wum4

Comments

Popular posts from this blog

Upstairs / Downstairs.

I've decided to make my prefabs multilevel. Later this should allow me to add pit traps and other great stuff. It also makes it easier to line up stairs so that you can exit them on the same co-ordinates where you entered them. The prefab editor is pretty much finished, it just needs some code for loading up prefabs from a saved dictionary, so that they can be checked or edited. The entries will need to be forwards compatible, so I'll be loading each tile and then translating the indexes to a new array, that way if I add extra indexes or extra info (like traps or puzzles) I'll be able to update existing prefabs to work with the new standard. Click for a video.

Automating Level imports from Blender to Godot

  Recently I've been making some levels in Blender an importing them into Godot. There are only about 7 or 8 shaders for each level, not counting dynamic objects which will be added later. But to improve rendering performance, it can be a good idea to split the meshes up into sections. At that point you might be faced with a list like this: Or it might be even more chaotic, if you didn't use simple names for the objects in your level. So it can take a long time to sort out all the meshes, make them unique and add textures and so on. Blender imports with simple Blender textures, or with placeholder materials. This is sometimes OK, but if your Godot shaders are very different to those used by Blender, it means applying new materials to every mesh object in the level when you import the scene. I found that during the design process, I was importing and readying a level several times before I was happy with the final layout. So at first I was wasting a lot of time. In Blender, I us...

The basics of A Star Pathfinding

Someone wanted to know how the code works for basic A* path-finding. Rather than reply in Facebook, I've made a quick post for it here. 1. create an array of nodes to represent your level.  It can be nodes with connections, or it can be a list of co-ordinates where connections are assumed to be NESW where a node exists.   Example 1:   level = {"001":[["002", 5.0], ["003", 5.0]], "002":[["001", 5.0], ["003", 5.0]], "003":[["002", 5.0], ["001", 5.0]]}    This is a dictionary based "mesh" type array, for easy reading. You can see it has 3 nodes arranged in a triangle. Each node is connected to two others, and in this case, the distance between each is 5.0 units.    It's easy to see how this mesh could be expanded. You just need more points. Each point must include its two neighbors and the distance between them.   Example 2:   level = [[0,1,1,0], [0,0,1,1], [1,1,1,0], [1,0,0,0...