For the last month or so, I've been working on making the character Assets for my game.
From the start, I had a number of design specifications that I had to follow.
1. The game is supposed to be playable on low end computers, running directly on an embedded web player. This puts a limit on the texture sizes and number of polygons. Each character has a strict budget; around 2000 triangles, and a single 512x512 texture.
3. The characters should share a small number of armatures, so that as much can be reused as possible.
4. Character design is modular. The heads occupy a 256x256 square in the top right of the texture. Hands have a 128x128 square just below.
5. Texture detail is focused on the face. The body takes up the rest of the texture space.6. Polygon detail is focused on the face and hands. Together they have nearly half the budget for polys (face:500, hands:250 each).
7. The models are painted in Blender, using the projection painting technique:
When I started using this method, about 6 years ago, it took around 3 hours to make a single character. I've cut development time a lot since then, and improved the results.
8. Some painting is done from samples. As an example, the faces are composites of a number of different sources.
They are then over-painted, using screen, multiply, burn and dodge. Plus the smear tool, and clone tool are used to correct glitches or uneven shading due to lighting conditions on the photograph.
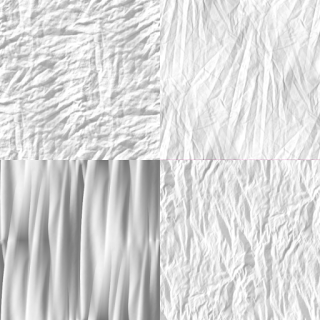
9. Clothes are painted using material brushes, first the cloth texture:
Next a texture is used to add folds and creases:It would be preferable to use a high poly model and sculpt this kind of detail... but it would take too long. The idea is to quickly generate characters with minimal work.
10. A base color is used for cloth, so that its hue and saturation can be adjusted according to saved settings and create different uniform colors.
11. As much as possible, I've tried to reuse old assets from previous projects. Those assets have been reformatted to fit the current design specifications, but they are generally lower quality, and so will be reserved for background characters. In one case, a whole set of 13 background characters uses a single 1024x1024 texture sheet.
12. The alpha channel of the textures is reserved as a roughness/shine mask. This can be used to show metallic objects, or in the case of alien characters, shiny skin, eyes etc... However, for the most part, the characters are mostly intended to be fairly flat shaded.
13. A small texture is used for environmental lighting, to add a rimlight to the characters, so they will better stand out from the background. You can find information on that in an earlier blog post.
The resulting characters are not the best in the world, but they are good enough, and I think they have a lot of personality. It has been a big help in planning out the game, and establishing the story.
When I was starting the project, I used an online avatar creator to make concepts of the characters, which would be used for the purpose of brainstorming and character building. It's interesting to see how some of those characters changed and evolved, once I started making the art assets for them...
It was a fun way to quickly visualize what I wanted the characters to look like, or to compare and so that I could create a mental image when thinking about their part in the story.
Anyway. Here are some of the results of this process:
I think this gives a nice selection of characters with which to populate my game.


Comments
Post a Comment